Keeping your floors clean may seem like a simple task, but mopping correctly requires more skill and technique than most people realize. Whether you want to keep your home spotless, care for hardwood or deep clean a tile floor, the way you mop can make a big difference in the cleanliness, safety and longevity of your floors.
Throughout this guide, we’ll show you the best way to mop floors like a pro. You’ll learn which tools to use, mistakes to avoid and how to adapt your method to the type of flooring in your home. So if you’re worried about streaks, sticky spots or discolored floors, this article is for you.
Why Mopping the Right Way Is Important
Mopping isn’t just for show.
Clean floors can improve indoor air quality, reduce allergens, remove harmful bacteria and prevent damage caused by dirt or moisture. On the other hand, mopping incorrectly can leave residue, streaks or even permanent damage to your floors.Professionally cleaned floors don’t just look better — they’re safer, more hygienic and easier to maintain in the long run.
Tools and Supplies You’ll Need
Before you begin cleaning, it’s important to gather the proper supplies. Choose a reliable mop — whether that’s a spin mop, flat mop, or a microfiber style — depending on your floor type and personal preference.
A high-quality mop (spin mop, flat mop or microfiber mop)
A bucket with a wringer or container of water (if not using a spray mop)
Floor cleaner that’s safe for your surface type
Hot water (hot water can damage some floors)
Vacuum or broom for pre-cleaning
Gloves (optional, but useful for sensitive skin)
Having the right tools from the start can help you clean faster and more efficiently. It also prevents unnecessary wear and tear on your floors.
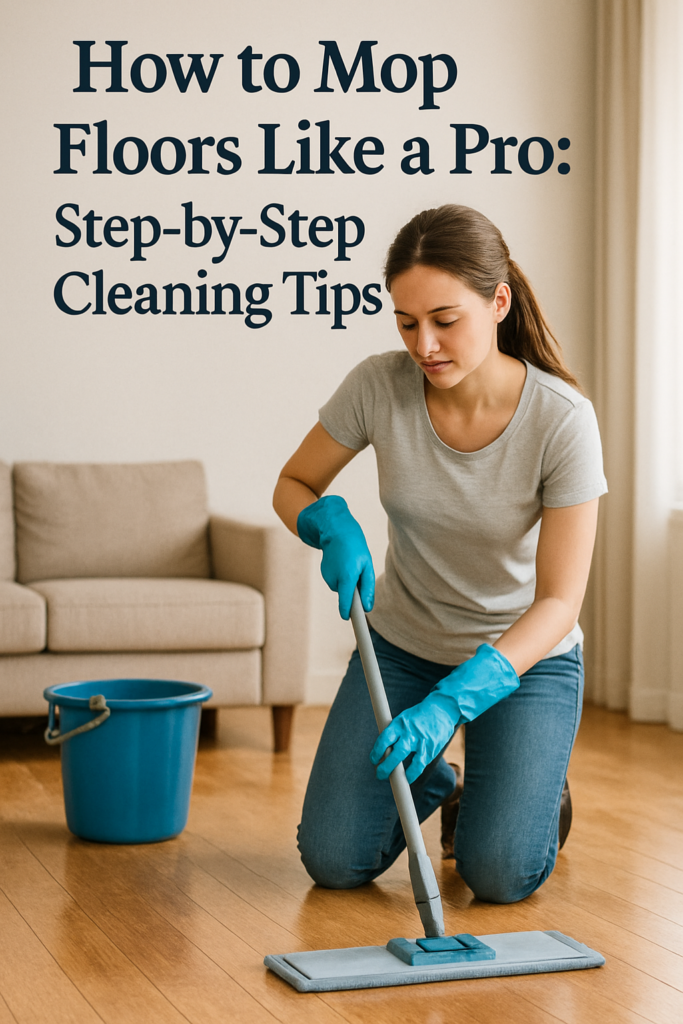
A Step-by-Step Guide to Cleaning Floors Like a Pro
Let’s break down the process into simple, effective steps you can follow to get spotless, stain-free floors every time.
Step 1: Clean the area
Start by removing small furniture, rugs, pet bowls or anything else lying on the floor. You want full access to every part of the surface so you can clean it evenly. If you’re mopping under a dining table or around furniture legs, clean those areas as well.
A clean, open space saves you from skipping corners or areas with high movement.
Step 2: Sweep or vacuum first
Never mop a dirty floor. Mopping over crumbs, hair or dust will spread the dirt around and make the situation worse. Take a few minutes to thoroughly sweep or vacuum the floor before you begin.
This step is especially important for hardwood, laminate and tile, on which dirt can be visible and scratched by debris if not cleaned first.
Step 3: Prepare your mopping water
Next, fill your bucket with warm (not hot) water and add the appropriate amount of floor cleaner. Always read the instructions on the bottle – using too much cleaner can leave residue, while using too little can lead to inadequate cleaning.
If you’re using a steam mop or spray mop, follow the manufacturer’s instructions for filling the water and solution.
Pro tip: If the water gets dirty during cleaning, change it. Dirty water won’t clean anything – it will just spread the dirt.Step 4: Start mopping from the farthest corner
Always start mopping from the farthest corner of the room and work your way back toward the exit. This will prevent you from walking over clean areas and leaving footprints on recently mopped surfaces.
Use a figure of eight or “S” to cover more space each time. If you’re using a traditional string mop, keep squeezing it frequently so you don’t over-wet the floor.
For a microfiber flat mop, you can simply glide across the floor with steady pressure. If you’re using a spin mop, spin it firmly in the squeegee so it’s damp but not dripping wet.
Step 5: Tackle tough spots and stains
If you notice dry spots, sticky patches, or stubborn stains while mopping, stop and fix them. Add a little cleaner to the sponge or cloth to clean them before you move on.
Don’t rely on your mop to do all the hard work – cleaning difficult spots separately gives you a deeper clean.
Step 6: Rinse the mop frequently
Throughout the process, rinse your mop head regularly in a cleaning solution. If you’re using a bucket and squeegee, replace the water when it starts to look dirty. Constantly mopping with dirty mop water will leave your floor looking dull and sticky.
For spray or steam mops, clean the pad or replace it as needed to prevent dirt from spreading throughout the house.
Step 7: Let the floor dry completely
When you’re finished mopping, let the floor dry completely before walking on it. This usually takes 10-20 minutes, depending on the ventilation of the room and the type of floor.Don’t place carpet or furniture on it until it’s dry. Wet floors not only attract new dirt quickly, but can also pose a risk of slipping or damage (especially on wood or laminate).
How to Mop Different Types of Flooring
Not all floors are the same. Here’s how you can adjust your method depending on the kind of surface you’re cleaning:
Hardwood Floors
Use a minimum amount of water and a cleaner made specifically for wood. Never leave water standing, and make sure the mop is damp — not soaked.
Laminate Floors
Like wood, laminate can’t handle water well. Use a flat mop with a gentle cleaner, and avoid using harsh chemicals or steam.
Tile Floors
Tiles can tolerate more moisture and harder cleaners. Use a microfiber or sponge mop for deep grout cleaning and spot-clean problem spots as needed.
Vinyl Floors
Vinyl is more water-resistant, but still benefits from a damp mop and pH-neutral cleaner. Avoid abrasive scrubbers.
Stone Floors
Always check the label on your floor cleaner—some stones, such as marble or slate, can be damaged by acidic solutions. Use a stone-safe cleaner and a soft mop.
Common Mopping Mistakes to Avoid
Even the most experienced homeowners make these mistakes from time to time:
Using too much water
Not sweeping before mopping
Skipping the rinse step
Using the wrong type of cleaner
Mopping with dirty water or a mop head
Not letting the floor dry before walking on it
Avoiding these mistakes will keep your floors clean, shiny, and in good condition for years to come.
How often should you mop?
This depends on how frequently you walk in and out of the area and how much traffic it receives. As a general rule:
Kitchens: 1-2 times a week
Bathrooms: At least once a week
Living rooms and bedrooms: Every 1-2 weeks
Entryways and mudrooms: As needed, especially during rainy or snowy weather
If you have children, pets, or allergies in your home, you may need to mop more often.